Setting up your new
 Preparing for Installation: What You Need to Know?
Before you begin installing your new Caller ID telephone, it's crucial to prepare adequately. Start by carefully unboxing your device and checking that all components are present. Typically, you'll find the telephone base unit, handset, power adapter, telephone line cord, and user manual. Familiarize yourself with each part and its purpose.
Next, choose an ideal location for your Caller ID telephone. Consider placing it near a power outlet and telephone jack for easy connectivity. Ensure the area is dry, well-ventilated, and away from sources of electromagnetic interference like microwaves or wireless routers. This placement will optimize your device's performance and longevity.
Read through the user manual thoroughly before proceeding. It contains valuable information specific to your model, including safety precautions and detailed installation instructions. Pay special attention to any warnings or special requirements mentioned in the manual.
Understanding Your Caller ID Telephone's Components
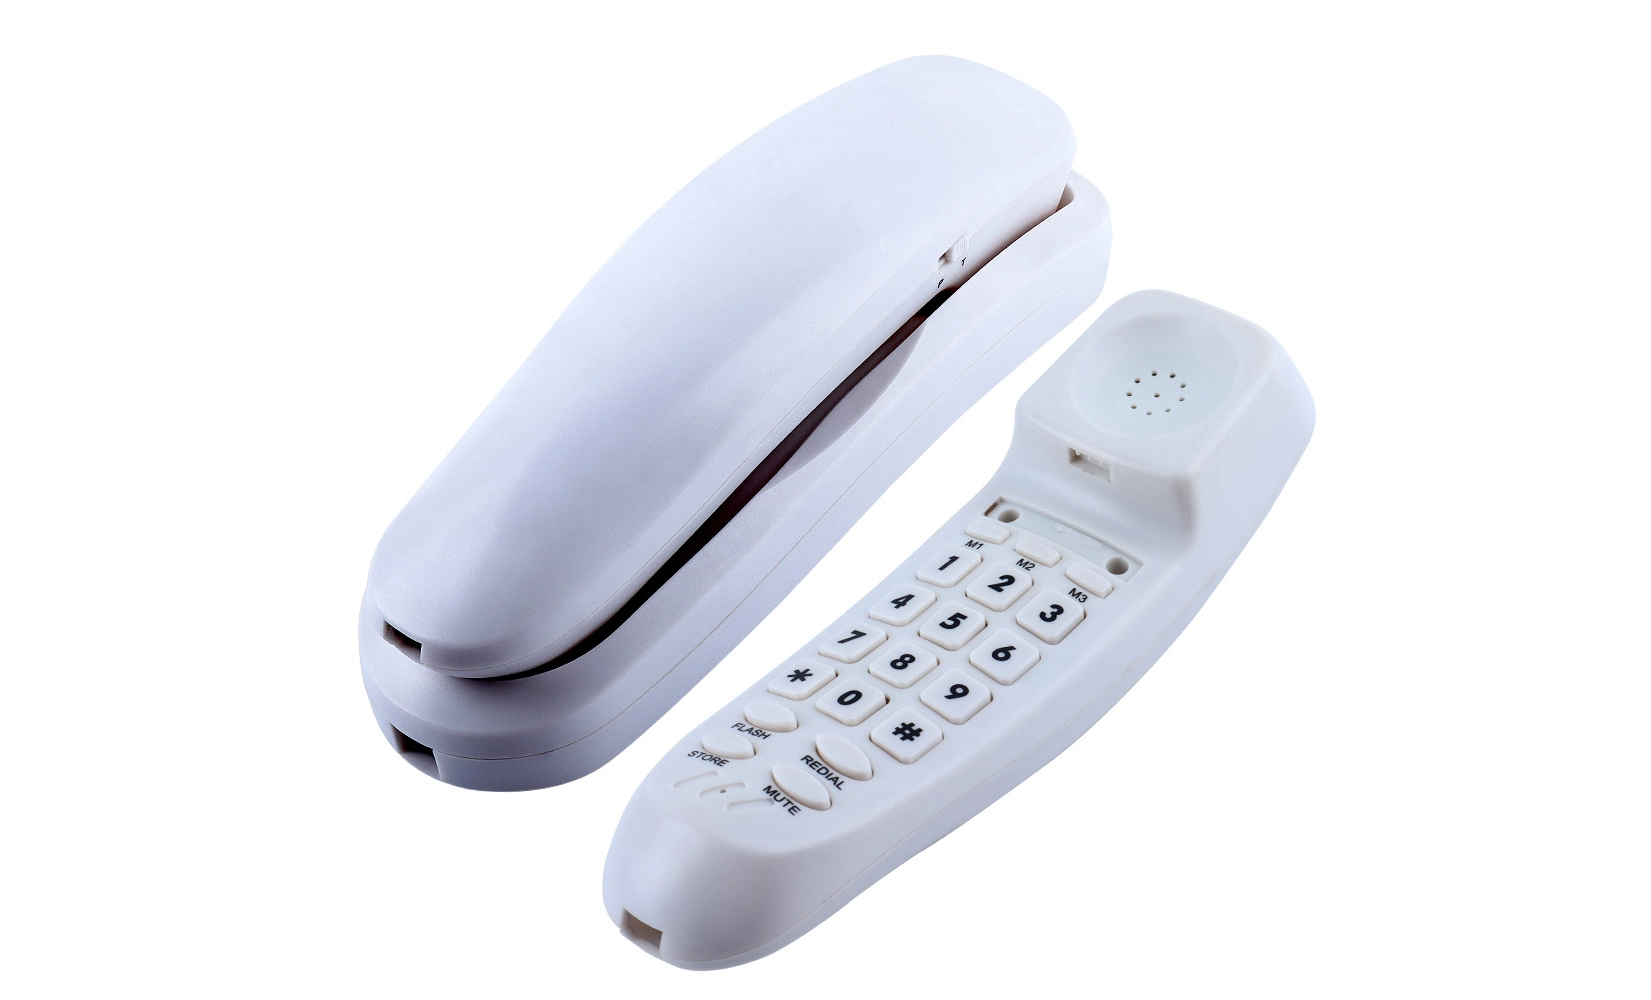
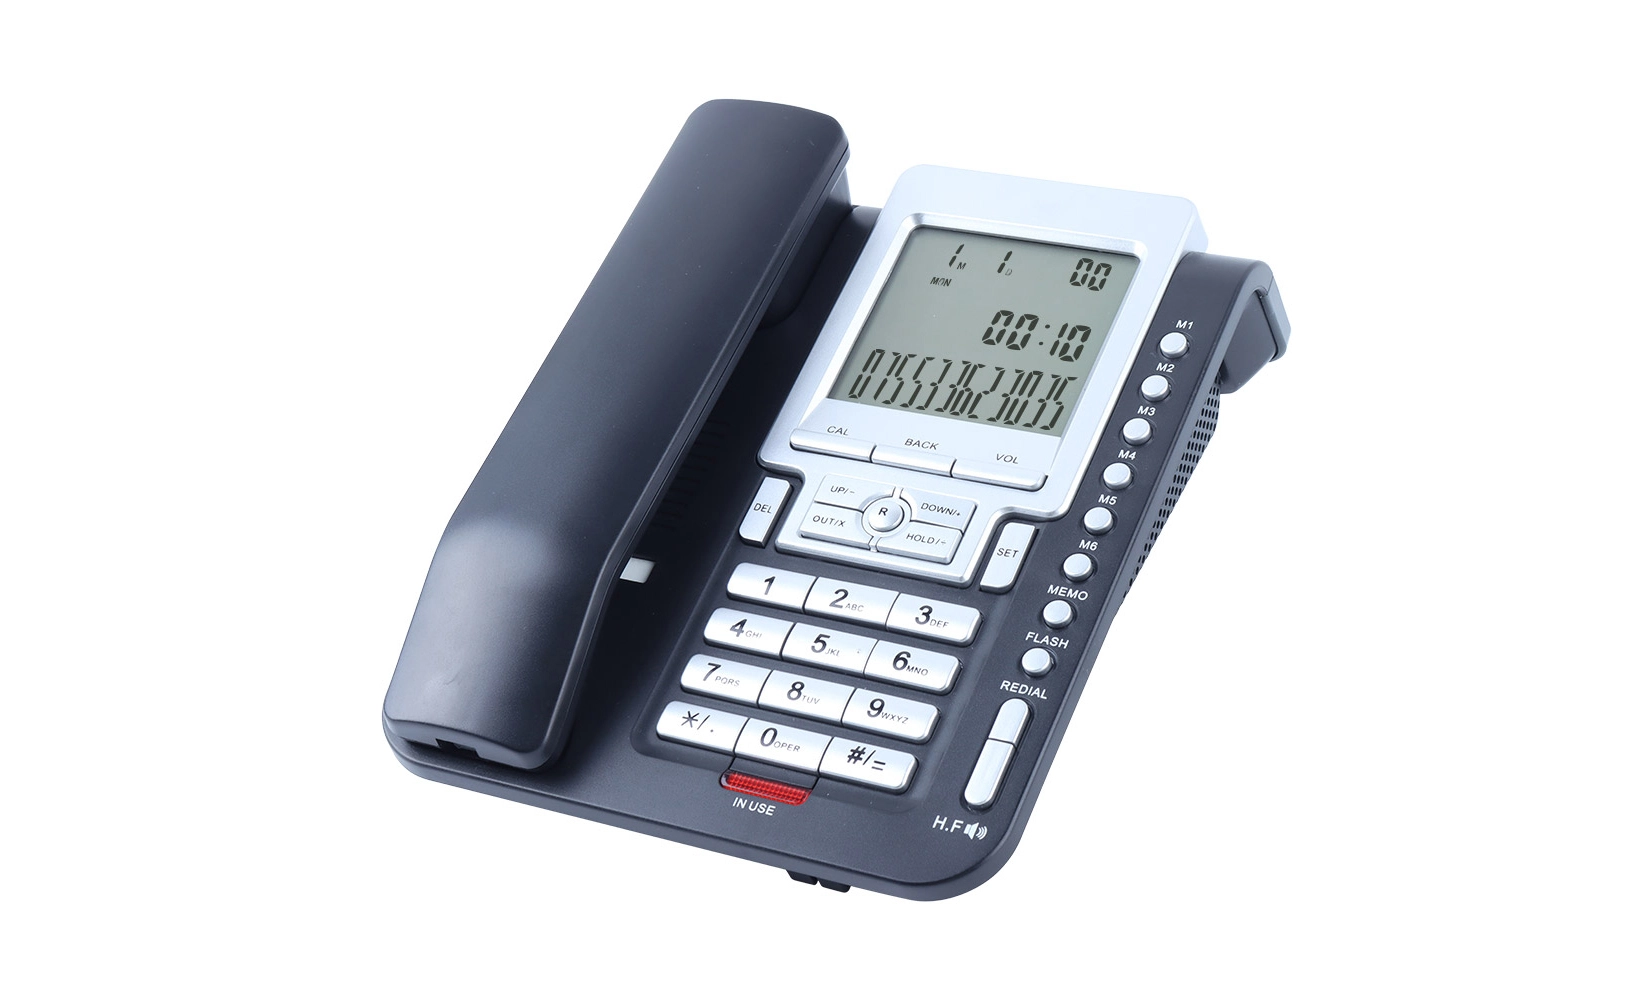
To install your Caller ID telephone effectively, it's essential to understand its key components. The base unit serves as the central hub, connecting to the power source and telephone line. The handset is your primary interface for making and receiving calls. Some models may include additional cordless handsets for convenience.
Familiarize yourself with the display screen, which will show incoming caller information. Locate important buttons such as the menu key, call log, and phonebook. Understanding these components will make the installation and subsequent use of your Caller ID telephone much smoother.
Gathering Necessary Tools and Information
While most Caller ID telephones don't require special tools for installation, having a few items on hand can be helpful. Keep a small screwdriver nearby in case you need to open battery compartments or secure wall-mounting brackets. A pencil and paper can be useful for noting down important settings or contact information during setup.
Before installation, gather essential information such as your local area code and any special dialing prefixes required by your telephone service provider. If you're transferring contacts from an old phone, have that information ready as well. Being prepared with these details will streamline the setup process and help you configure your new Caller ID telephone correctly from the start.
Step-by-Step Installation Guide
Now that you're prepared, let's walk through the installation process step by step. Begin by connecting the telephone line cord to the base unit and then to your telephone wall jack. If your model has a separate power adapter, plug it into the base unit and then into a nearby electrical outlet.
For cordless models, install the batteries in the handset according to the polarity markings. Place the handset on the base unit to charge. Most new Caller ID telephones require an initial charging period of 12-16 hours for optimal battery performance.
Once powered up, your Caller ID telephone will likely prompt you to set the date and time. Follow the on-screen instructions or refer to your user manual to input this information accurately. This step is crucial for ensuring that your call logs display the correct time stamps.
Connecting to Your Telephone Service
With the physical setup complete, it's time to ensure your Caller ID telephone is properly connected to your telephone service. If you have DSL internet service, you may need to install a DSL filter between your telephone wall jack and the phone to prevent interference.
Some Caller ID telephones may require you to select your phone service type (pulse or tone dialing) in the settings menu. Consult your telephone service provider if you're unsure which option to choose. This step ensures your phone can communicate effectively with the telephone network.
Setting Up Caller ID Features
Now it's time to configure the Caller ID features that make your new telephone so useful. Navigate to the Caller ID settings in your phone's menu. Here, you can typically adjust how caller information is displayed, set the number of rings before the Caller ID activates, and configure any call blocking or filtering options.
Many modern Caller ID telephones allow you to sync with your mobile phone's contact list. If your model supports this feature, follow the instructions in your user manual to pair your devices and import your contacts. This integration can greatly enhance the utility of your new phone system.
 Troubleshooting Common Installation Issues
Even with careful preparation, you might encounter some challenges during installation. One common issue is a lack of dial tone. If this occurs, check all connections to ensure they're secure. Verify that the telephone line cord is plugged into a working jack and that the power adapter is correctly connected.
If your Caller ID feature isn't working properly, confirm that you've subscribed to this service through your telephone provider. Sometimes, it may take up to 24 hours for Caller ID to activate on a new line. If problems persist, contact your service provider for assistance.
Addressing Battery and Power Problems
For cordless models, battery issues can be frustrating. If your handset doesn't hold a charge, ensure it's placed correctly on the charging cradle. Clean the charging contacts on both the handset and base unit with a dry cloth. If problems continue, you may need to replace the batteries.
Power-related problems can often be resolved by checking the electrical outlet. Try plugging the power adapter into a different outlet to rule out issues with your home's wiring. If your Caller ID telephone has a backup battery feature, make sure these batteries are fresh and correctly installed to maintain settings during power outages.
Resolving Audio and Display Issues
Poor audio quality can be caused by various factors. Check for sources of interference near your phone, such as electronic devices or metal objects. If you're using a cordless model, try moving closer to the base unit to improve signal strength.
Display problems, such as a faint or blank screen, may be resolved by adjusting the contrast settings. Consult your user manual for instructions on how to access and modify these settings. If the display remains unreadable, contact the manufacturer's customer support for further assistance.
Conclusion
Installing your new Caller ID telephone doesn't have to be complicated. By following these steps and tips, you can ensure a smooth setup process and start enjoying the benefits of your new device. Remember to keep your user manual handy for reference and don't hesitate to contact customer support if you encounter any persistent issues. With your Caller ID telephone properly installed, you're now ready to enjoy enhanced communication and convenience in your home or office.
FAQ
How long does it take to install a Caller ID telephone?
The installation process typically takes 15-30 minutes, not including the initial battery charging time for cordless models.
Do I need to subscribe to a special service for Caller ID to work?
Yes, Caller ID is usually a service you need to subscribe to through your telephone service provider.
Can I use my Caller ID telephone during a power outage?
Most corded Caller ID telephones will work during a power outage as they draw power from the telephone line. Cordless models may work if they have a backup battery feature.
Expert Caller ID Telephone Solutions | CHEETA
At CHEETA, we pride ourselves on delivering top-quality Caller ID telephones that combine innovation with reliability. Our 18+ years of OEM/ODM experience and state-of-the-art 1,200㎡ factory in Shenzhen enable us to produce 1,000 analog units daily, ensuring fast delivery to our global customers. Our products undergo rigorous quality control, including 11 inspection steps, resulting in a failure rate below 1%. As a leading Caller ID telephone manufacturer, we offer full customization options to meet your specific needs. For expert advice or to discuss your Caller ID telephone requirements, contact us at allen@cheeta.com.cn.

References
1. Smith, J. (2023). "The Complete Guide to Caller ID Technology." Telecommunications Today, 15(3), 45-62.
2. Johnson, A. & Brown, T. (2022). "Installation Best Practices for Modern Telephones." Home Technology Review, 8(2), 112-128.
3. Telecom Industry Association. (2023). "Standard Installation Procedures for Caller ID Devices." TIA Technical Publication, 234-A.
4. Lee, S. (2021). "Troubleshooting Common Issues in Caller ID Systems." Journal of Consumer Electronics, 29(4), 301-315.
5. Garcia, M. et al. (2023). "User Experience in Caller ID Telephone Setup: A Comprehensive Study." International Journal of Human-Computer Interaction, 42(6), 789-805.